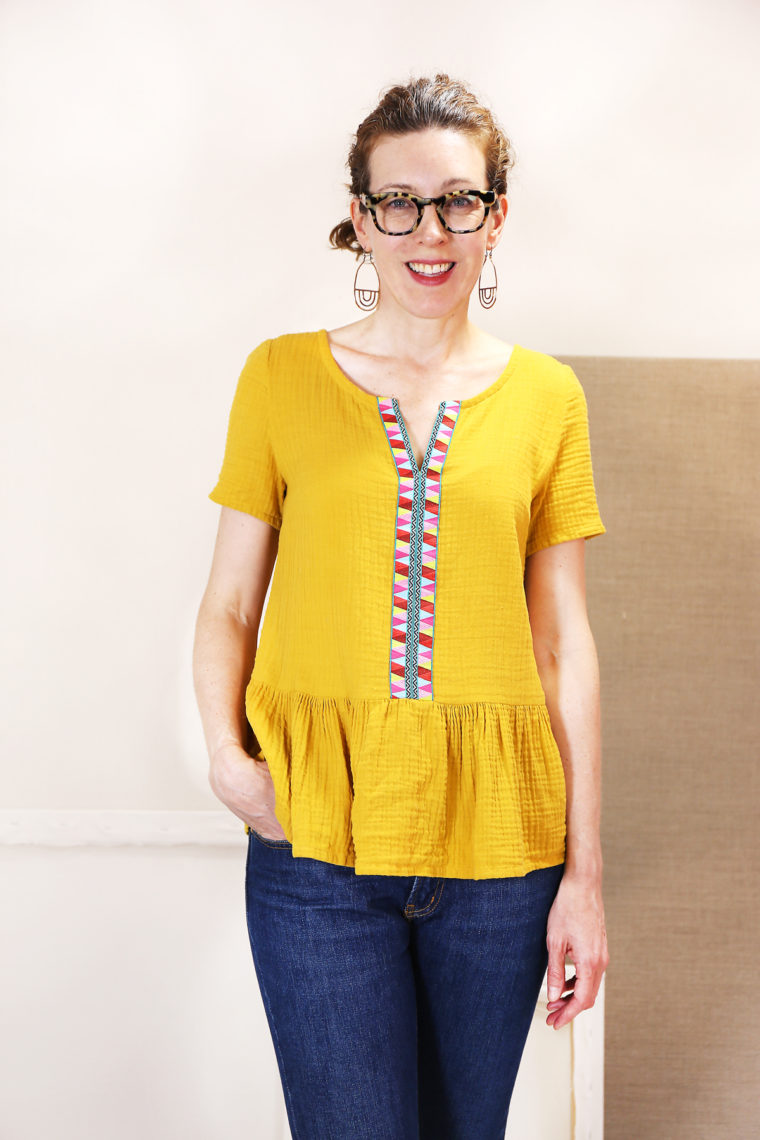
Since we're getting ready for the Gelato Blouse + Dress sew-along, which is starting next week, I thought I'd share a quick mini-tutorial in case you'd like to personalize the pattern a bit.
Recently, I stumbled upon this crinkle gauze fabric at a local store. Unlike double gauze, crinkle gauze has yarns that are heavily twisted, giving it a natural tendency to crinkle and wrinkle in a really appealing way. It was super trendy back in the '80s, as far as I remember, but I haven't seen it around much lately. However, its lightweight and airy nature makes it perfect for summer, so I decided to give it a try. I bought enough to make a Gelato Blouse for myself and another for S, who's slightly smaller than a size 0 but can still fit into a 0. I don’t have a picture of S wearing hers yet, but I’ll post it on Instagram once I do.
A quick tip: if you ever work with crinkle gauze, press it thoroughly before cutting! Not only does it make cutting and sewing easier, but crinkle gauze also stretches and relaxes over time. If you skip pressing, your finished garment might end up being oversized—like, significantly bigger than intended. Got it?
For the ribbon detail, I approached it similarly to adding a keyhole opening/facing. I used a strip of fabric as a facing, applying it from the wrong side so it would appear on the right side after cutting and turning. Still with me? I took a single photo after stitching and cutting it since I wasn’t planning on doing a full tutorial.
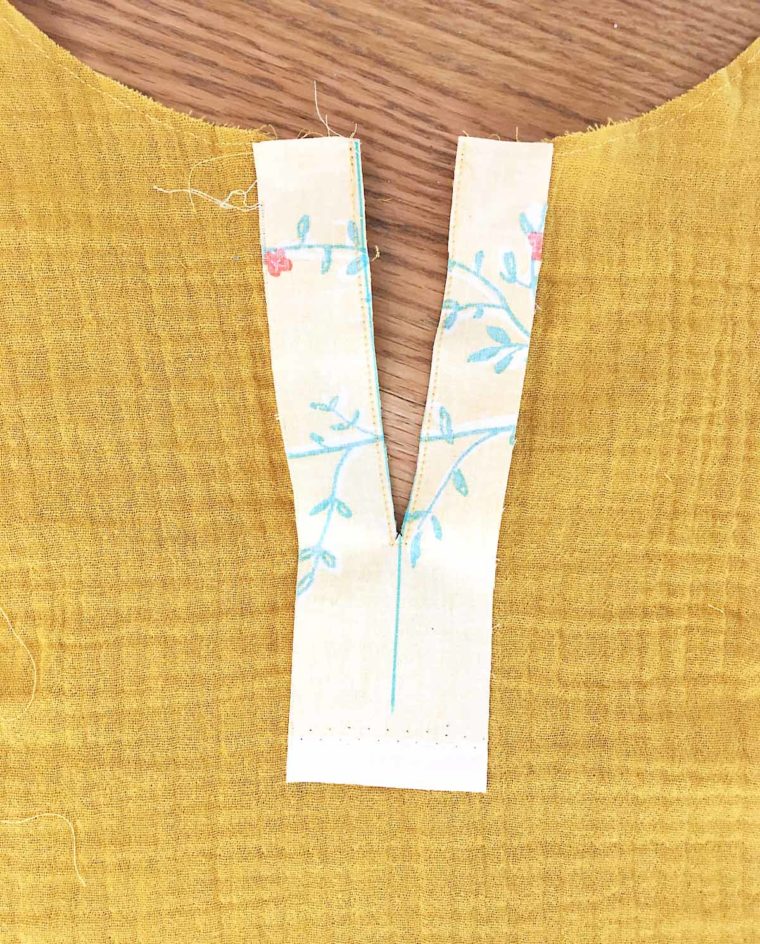
After flipping the facing to the right side, I pressed the sewn center-front edge carefully and then attached the ribbon to cover it. I started by edgestitching the inner edge of the facing to fully hide the seam and then stitched the outer edge of the ribbon once both ribbons met at the center. If the facing fabric is wider than the ribbon, simply trim it down before stitching the outer edge of the ribbon.
The ribbon I used is from Renaissance Ribbons, which offers some of the coolest, softest jacquard ribbons around, in my opinion. This particular one was designed by Anna Maria. I can’t find anything like this in Spain, so I highly recommend checking out their awesome selection! (Someday, I swear, I’ll open a fabric and trim shop in the Pontejos district of Madrid. It frustrates me when I can’t find what I want, which happens often. Spoiled New Yorker alert…)
Anyway!
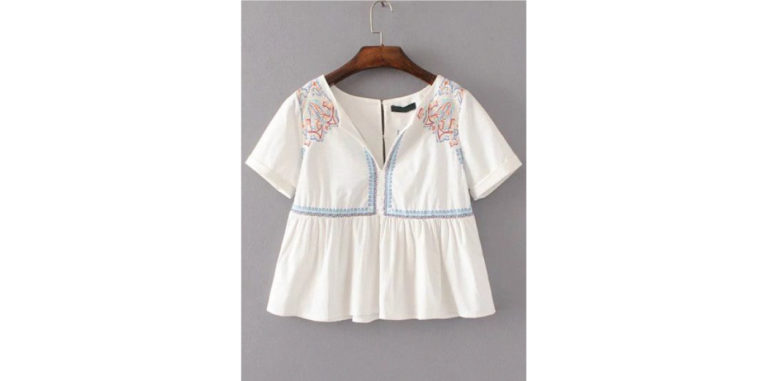
This is an easy modification you can make to the pattern, and it adds a fun detail that changes the overall look of the blouse. If you have extra ribbon, you could also incorporate it into the waistline, similar to this inspiration piece. (And if you’re feeling adventurous, you could add a fun fabric to the shoulders or even do some embroidery to mimic this style.)
Remember, your Gelato pattern is just the starting point. Experiment and see what else you can create with it! If you don’t own the Gelato Blouse + Dress pattern yet, you can purchase it now. Don’t forget to join us for the sew-along too!
[Adsense code]
Related posts will show up here later.
Surface Interest Fabric,Poly Spx Mixed Cloth,Liverpool Knit Fabric,Poly Liverpool Textile
Shaoxing Silver Coast Import and Export Co Ltd , https://www.silvercoastfabric.com